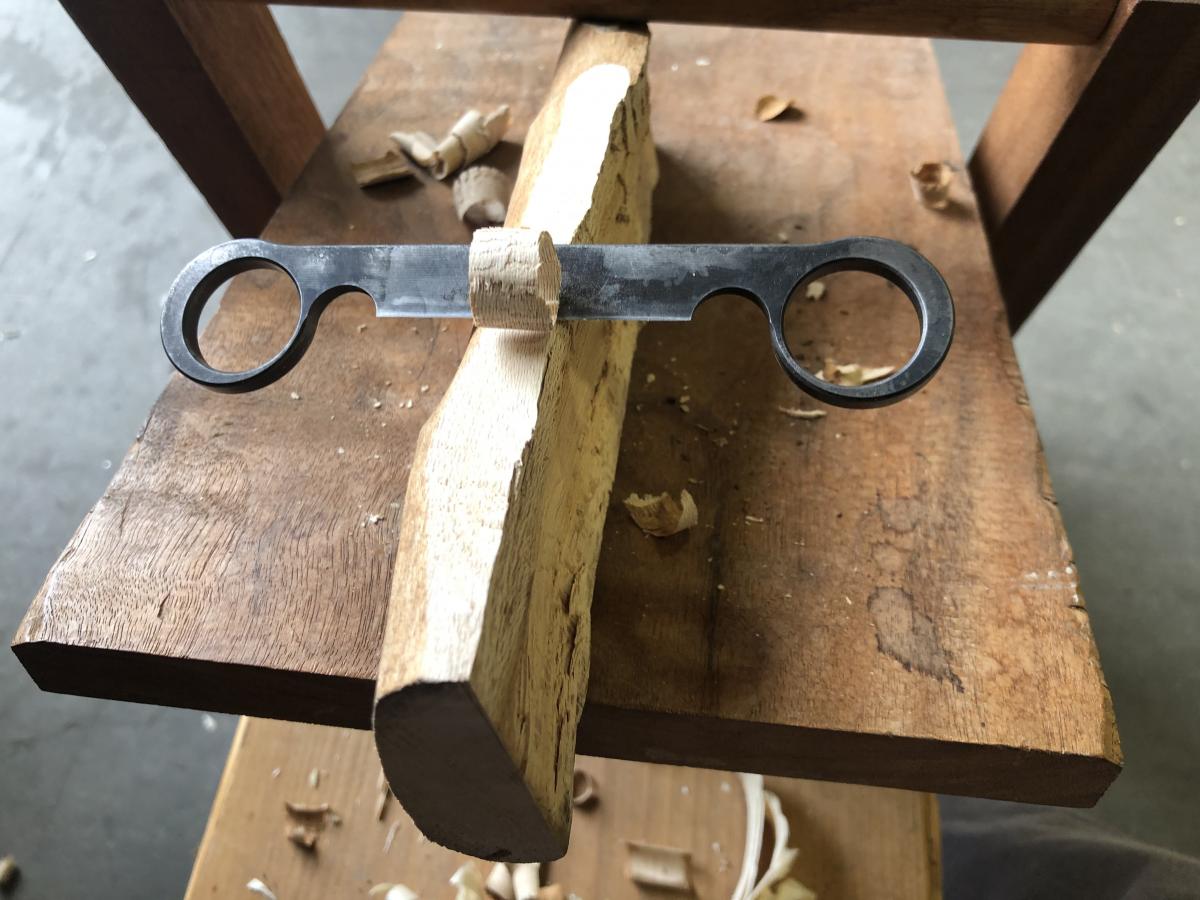
Once the spoon blank is roughed out the sculpting can start. This is a first look at the new Gramercy Tools spoon carver's draw knife which I used not just for details but also some of the rough work here.,https://toolsforworkingwood.com/store/item/GT-SDK.XX
Once you have a piece of wood with which to start carving your spoon, you need to take it from whatever shape and size it is down to a roughed out spoon blank. Basically this is exactly what it sounds like, a blank canvas of a piece of wood with a spoon-like shape ready to be transformed.
There are two main decisions to make here - what kind of spoon are you making, and how to rough out the blank.
Spoon Design
When thinking about spoon design, start by looking at spoons. I know, I’m a genius. Like Stephan King and others say, if you want to be a writer, you have to read. A lot. Carved spoons tend to fall into a few categories: eating spoons, cooking spoons, scoops and measuring spoons (tea, coffee, sugar, etc.), historic spoons, Irish love spoons, soup spoons, spatulas, jam spreaders.
Ok, there are more than a few categories.
I recommend connecting to individual carvers and groups on social media, buying or borrowing a book or two ( Lora Irish’s The Art Of Spooncarving is a great beginner), and keeping an eye open to spoons you find in real life as well. I keep a huge album of spoon pics I find online and IRL on my phone, and go to them often.
To start, it is often easiest to choose a simple design and ideally to create or use a template for the spoon - a simple outline of the spoon from the top and the sides you can use on the wood and carve to. It really makes things easier as you learn how to cut safely and accurately. Eventually you will get to the level where you can sketch out your spoon on your blank directly, or even carve a spoon with no template at all, freehand. I’ve seen it done. Very cool.
Roughing Out a Blank
I will not be going over the techniques used with different tools to create a blank, there are numerous resources for that. My aim is to introduce the different methods and tools available so you can be strategic in the skills and tools you acquire. .
The goal?
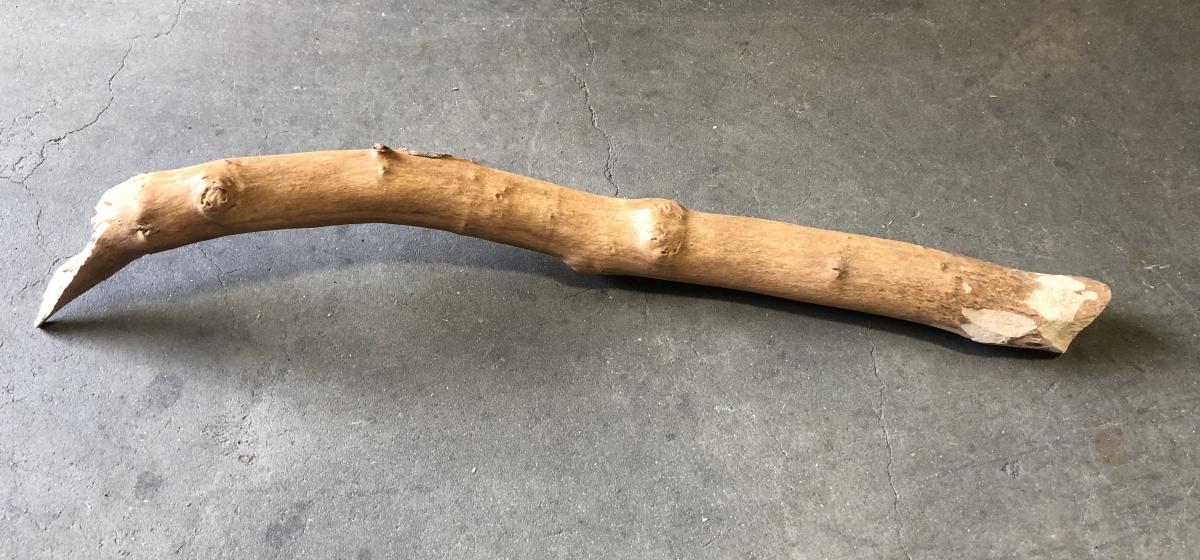
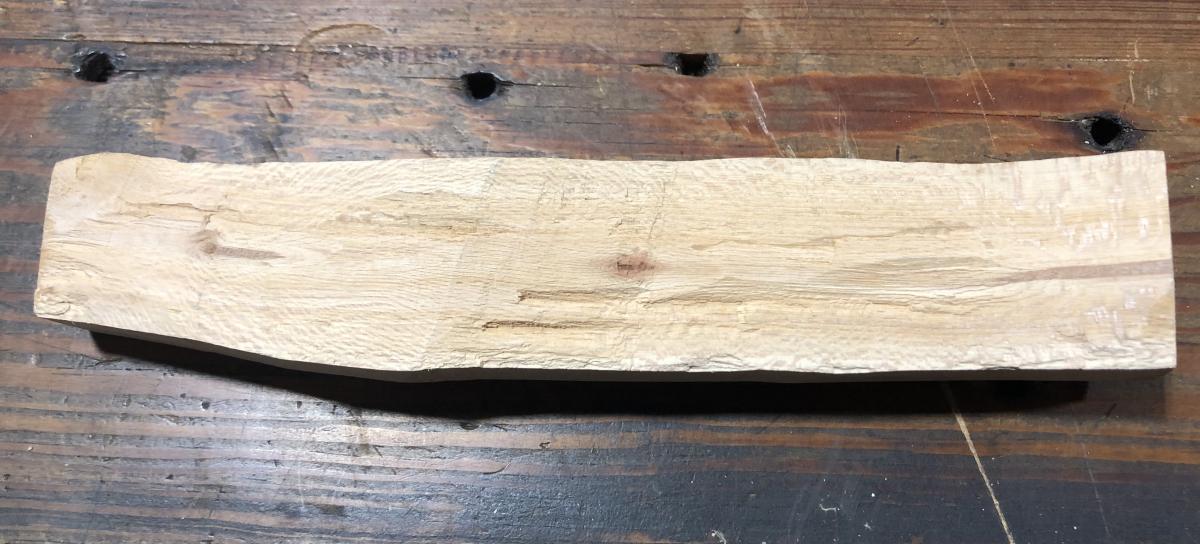
Turn this: This is a large branch I found, stripped of bark
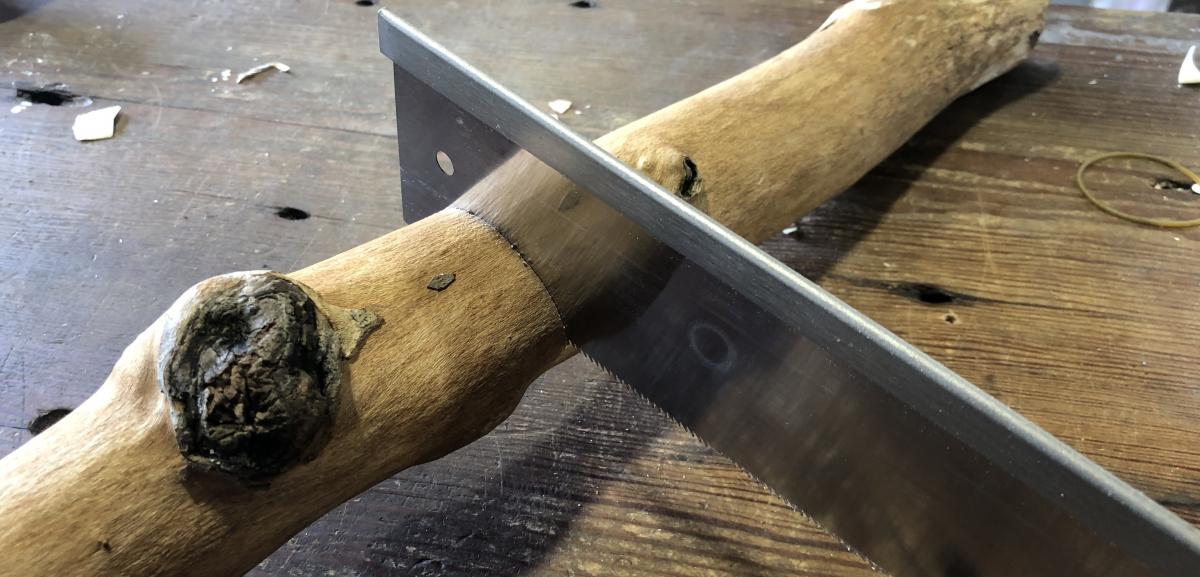
Here, after figuring out my basic design I am cutting the branch to length A froe is a great tool for splitting wood
Into something like this: This is from the same branch after sawing and splitting, just close up so it looks a lot larger.
You would then trace or draw your spoon shape or template on the top and a side of the blank as a guide for carving. You can go further with a blank by roughing out the bowl and handle as well.
Roughing out a blank means removing a good amount of material and we aren’t trying to be too accurate yet. Here are some of the main tools used to create a blank.
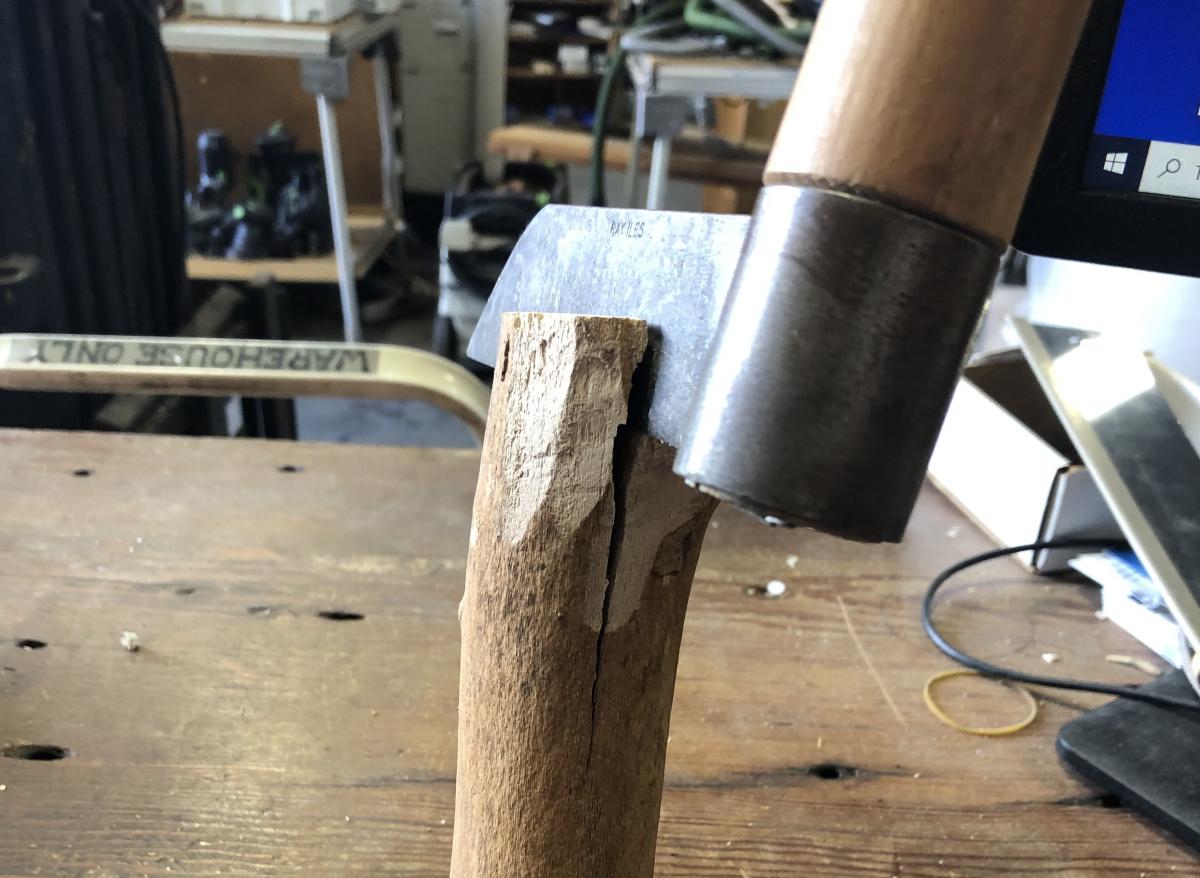
Carving axe or hatchet - many carvers use an axe or hatchet to carve out blanks, and if you get good with one you can get pretty close to a finished spoon this way. You can pick up a solid starter hatchet for not too much money, and it would be a good idea to start learning how to sharpen blades if you don’t know already. (Check out this article on sharpening to help get you started.) You also need a surface to use a hatchet on, most people use a chopping block made from a large log.
Froes by Ray Iles,https://toolsforworkingwood.com/store/item/MS-IFROE.XXFroe - Froes are the perfect tool for splitting wood. Froe are a great tool for carvers especially if you are working with green wood. Basically this is a cool way of splitting a log or large branch into smaller spoon sized blanks-to-be. I used one of our small froes to split the branch for this blank.
Bandsaw - A bandsaw is a shop tool and you will either need to buy or make a friend who has one. It allows you to make clean cuts of any shape including curves. However, unless you are planning on doing a lot more woodworking beyond spoons, it probably is not worth the purchase.
Bow saw - There's been a big revolution in handsaws lately and now everyone knows how wonderful a good saw is if it's done right. However, nearly the whole revival has been with various permutations of backsaws. Well, sometimes you have to cut a curve. That's what a bow saw is for. In the US and in England, where bulkier cutting is historically accomplished with big handsaws, "bow saws" or "turning saws" evolved with thinner, lighter frames, and very narrow blades for cutting tight curves. These saws are good for a variety of uses in addition to roughing out spoon blanks, and using one you can get pretty close to your finished spoon shape.
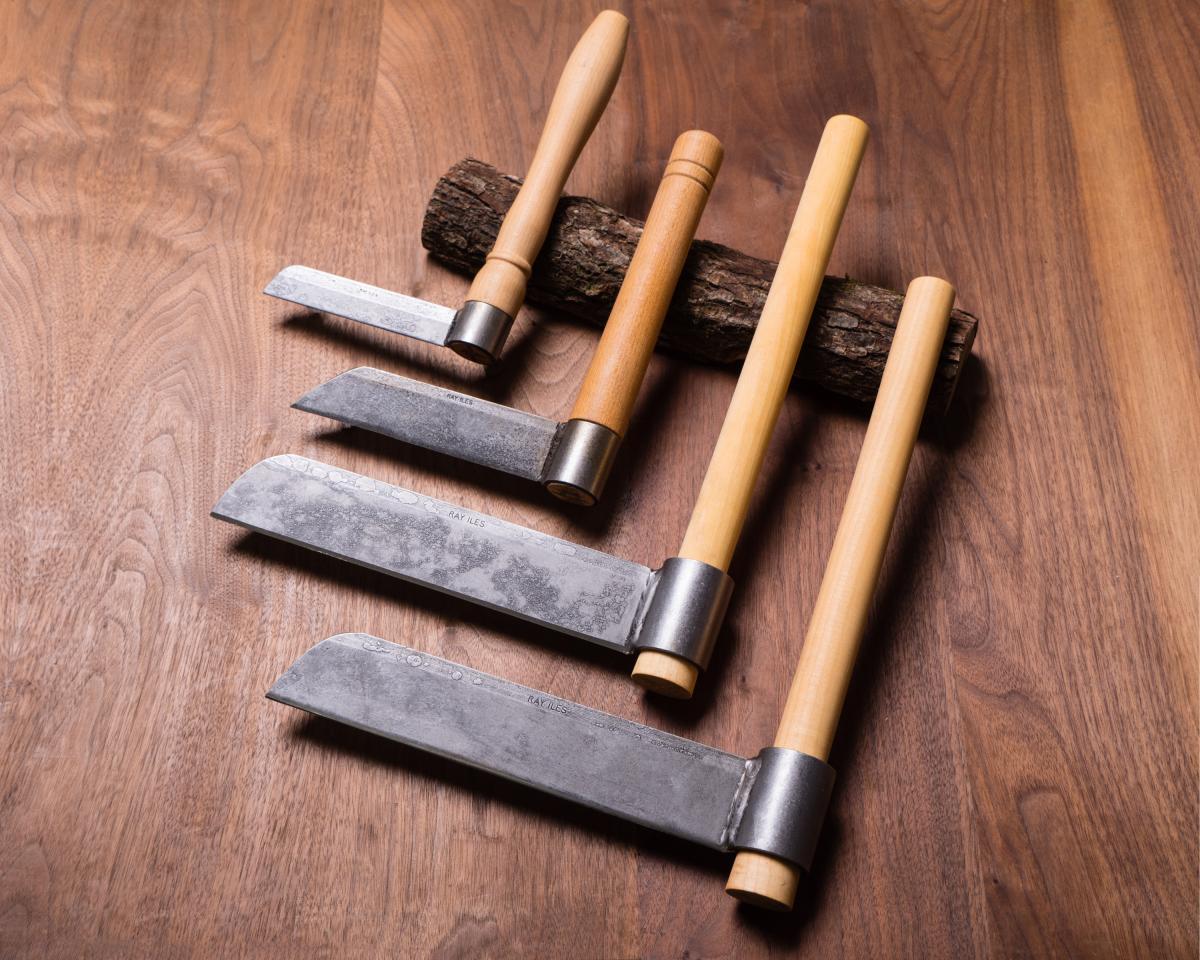
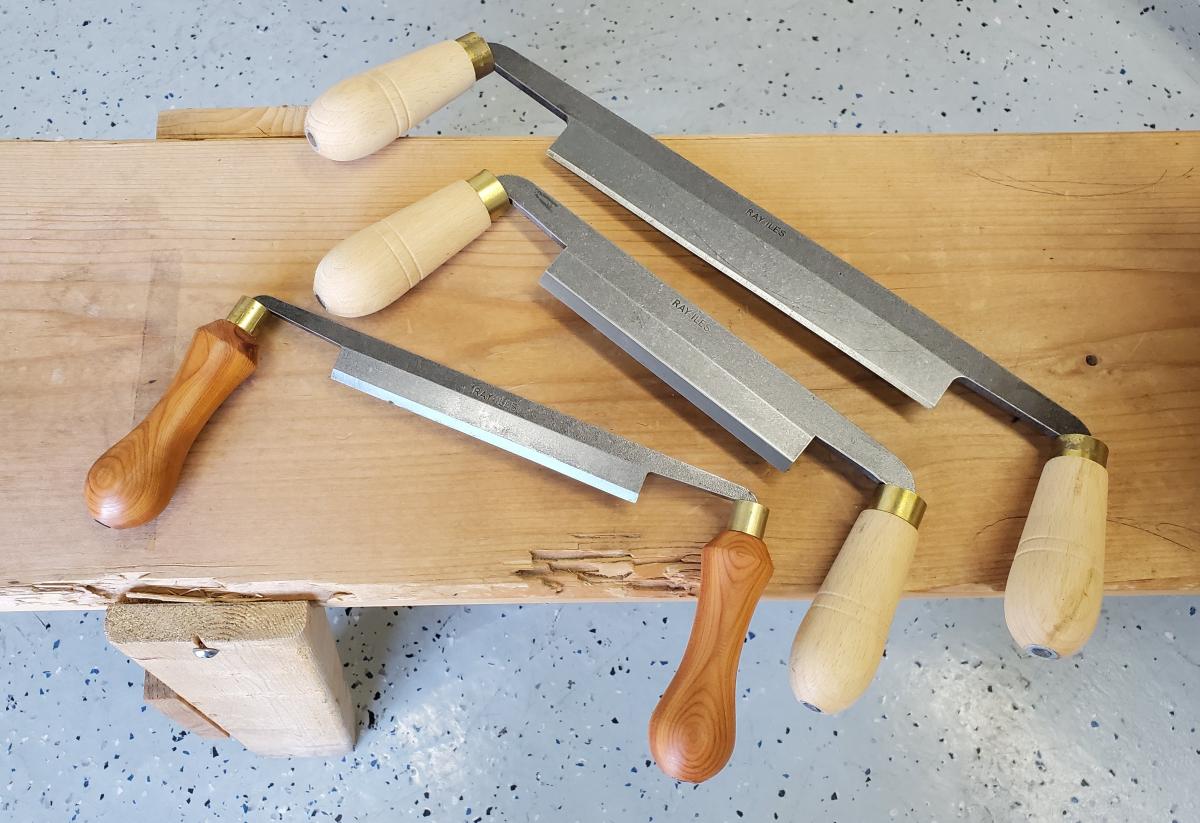
Draw knives by Ray Iles,https://toolsforworkingwood.com/store/item/MS-IDRAWK.XXDraw knife - A draw knife is a wonderful carving tool and is made for this task - to remove lots of material with minimal effort. There are a wide range of knives out there - different lengths, handles, blades, prices and more. Using a draw knife requires a clamp, vice, or shave horse (build your own!) to use as it is a two-handed tool. This is also a great opportunity to introduce you to Gramercy Tools’ latest addition to our line - the spooncarver’s mini draw knife! It is designed specifically for smaller work and the ability to get into tighter corners and curves, and fits right in your tool roll.
Carving knives - If you are not sure about spoon carving, or aren’t able to purchase a wide range of tools, you can use a straight blade carving knife (which you will need anyway to actually carve the spoon!) to remove material and create a blank. It will take more time and energy than these other methods, but is 100% doable.


 Joel's Blog
 Built-It Blog
 Video Roundup
 Classes & Events
 Work Magazine